In Yahaha Studio, creators a able to import various art assets from external sources, enabling them to use both their own unique resources and those created through a robust production pipeline. This guide will walk you through the process.
To import an external asset, simply click on “My Resources” icon on the bottom right and then click the “Uploaded” session showed on the left.
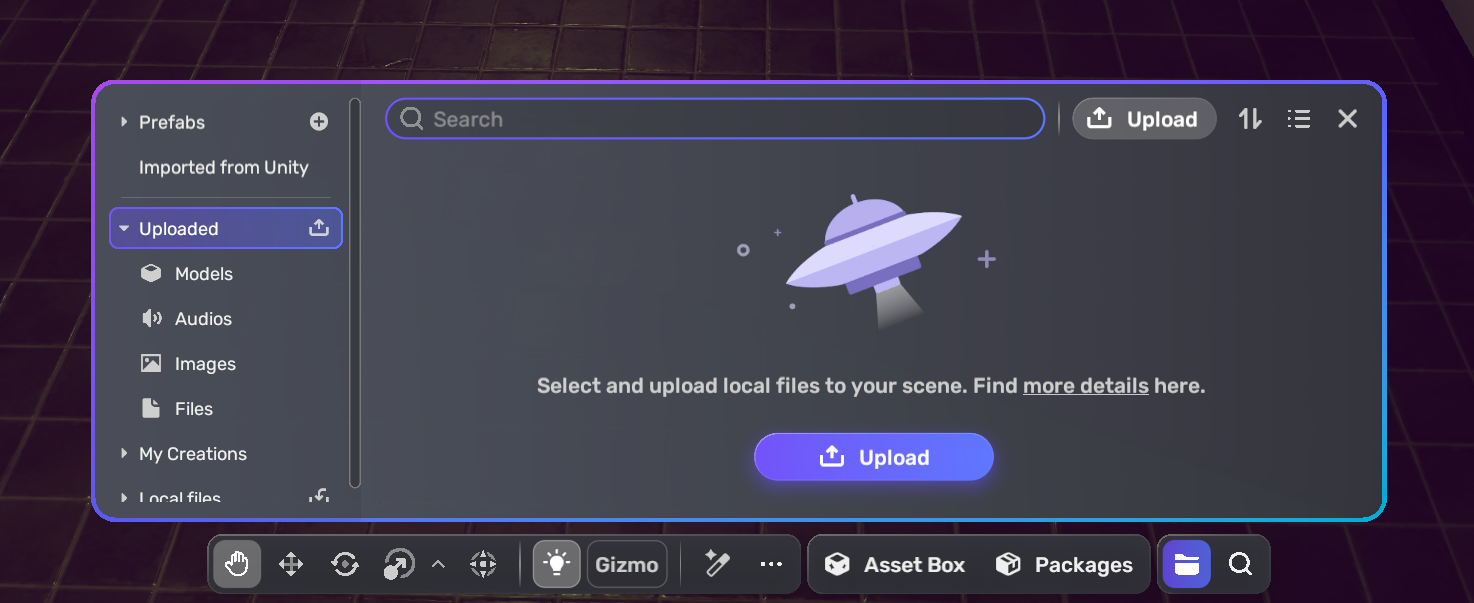
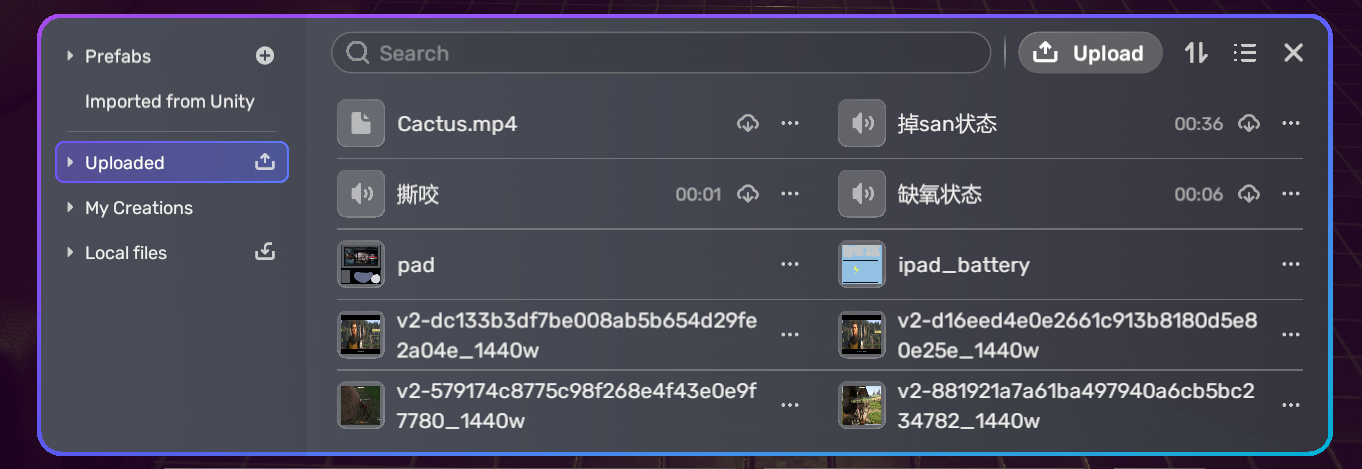
You can upload and import multiple types of assets, including but not limited to models, audios, and images.
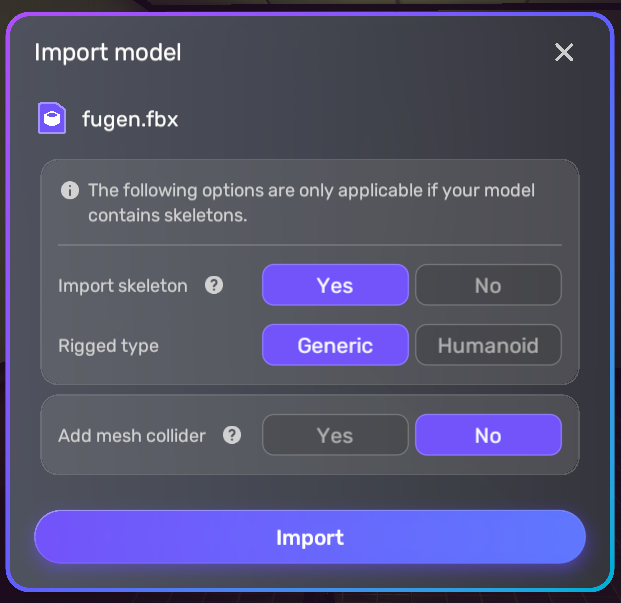
While importing fbx files, the following panel pops up. You can configure related settings about the model.
| Property | Description |
|---|---|
| Import skeleton | Determines whether to import skeleton data for animating objects or characters. Set to Yes to import skeleton data if the model contains it; if set to No, only meshes, materials, and textures will be imported directly from the file. Configure this property based on the presence of skeleton data in your model. |
| Rigged type | Choose the appropriate method for adding a skeleton or structure to a 3D model to enable animation. Select Generic for simple bone structures suitable for basic movements and animations, or Humanoid for complex rigs with advanced controls. This property is only visible when Import skeleton is set to Yes and should be configured based on the rigged type of your model. |
| Add mesh collider | Determines whether to automatically add a mesh collider. Adding numerous mesh colliders may negatively affect game performance. For optimal results, use a primitive collider (for example, box, sphere, or capsule collider) within Studio. Note: FBX files containing 3D models with animations and bones, processed by third-party skinned mesh renderers, will have capsule colliders generated upon import. |
For FBX files, simply click the asset in the “My Resources” panel to add it directly to your scene. For other file types (such as audio or images), you’ll need to apply them during specific configurations—for example, selecting a sound effect for an interaction or assigning an image to a game object like a monster.
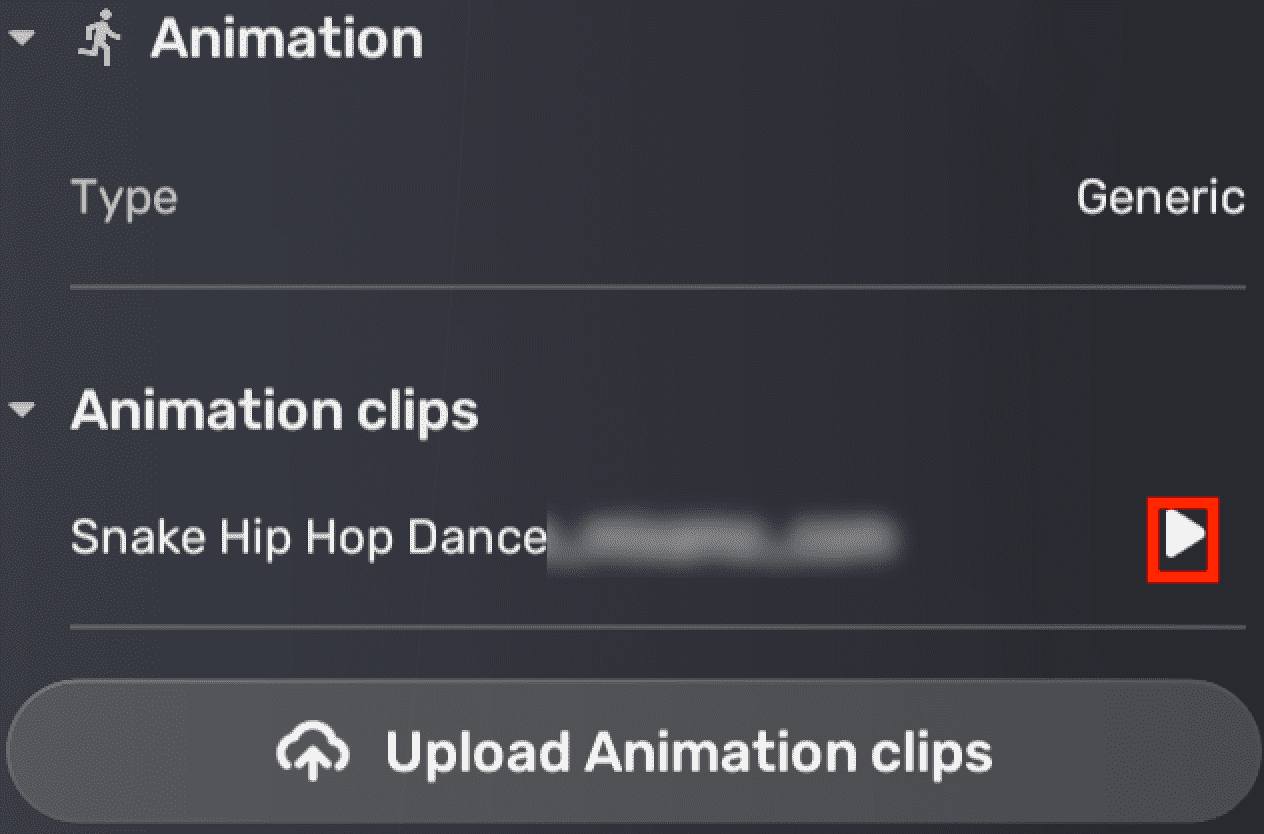
If your imported model contains animations, an Animation panel will automatically appear in the Properties window, displaying details about the animation. Use the preview feature to verify the animation’s behavior before finalizing.
Importing Assets from Unity
Above Uploaded panel there lies the option for you to import assets directly from Unity, to achieve which you will need to use the Yahaha Asset Importer plugin in Unity.
Before importing prefabs into Studio, you need to add and build them first in Yahaha Assets Importer.
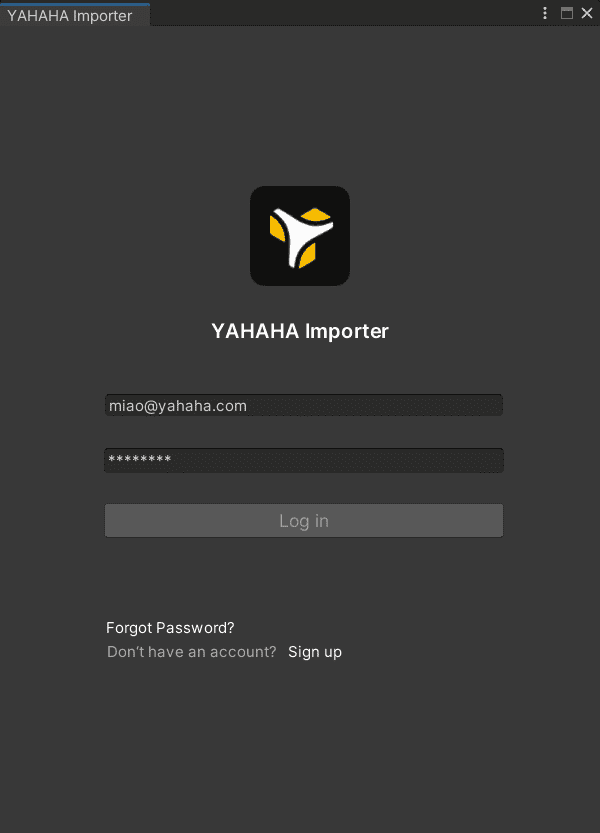
Open Yahaha Assets Importer via Top Menu > Yahaha Importer > Import Prefab

Log in with your YAHAHA account
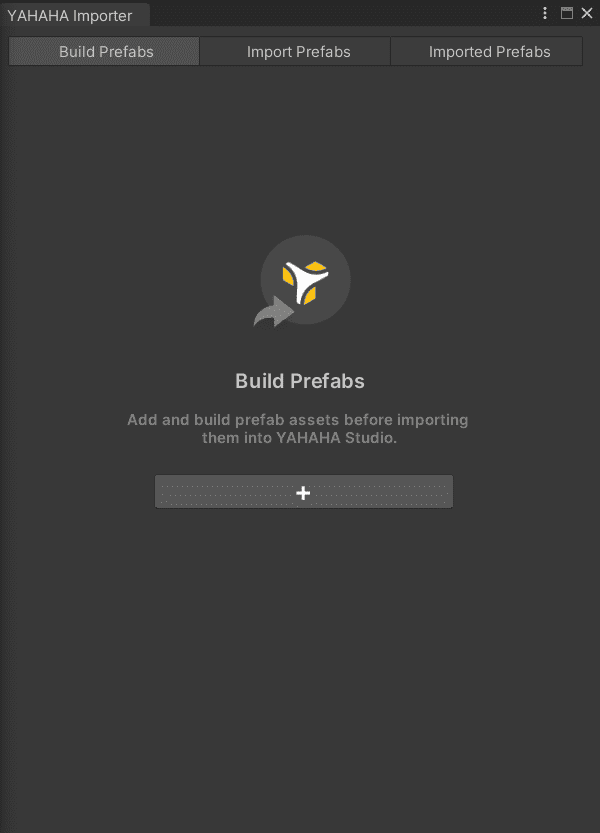
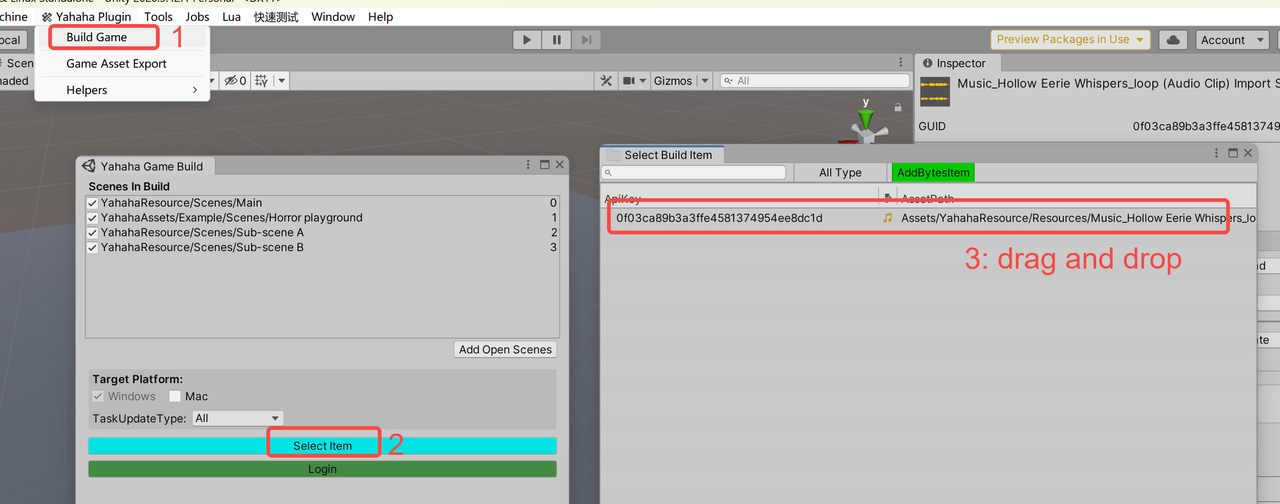
On the Build Prefabs tab, click + to add prefabs
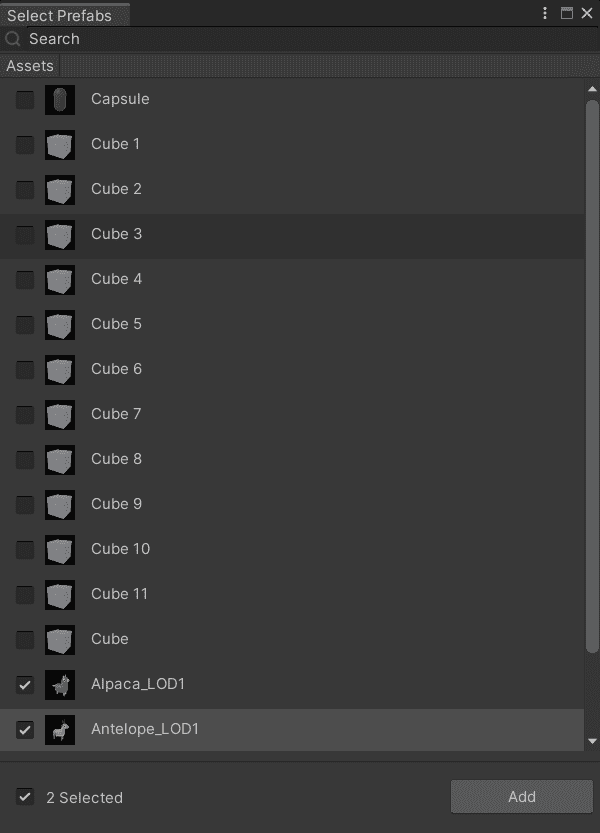
Select desired Unity prefabs from list and confirm with Add
Select prefab and click Build (Note: System locks during building process)
Import prefabs
After adding and building prefabs, import them into Studio by switching to Import Prefabs tab. Select prefabs and click Import All.
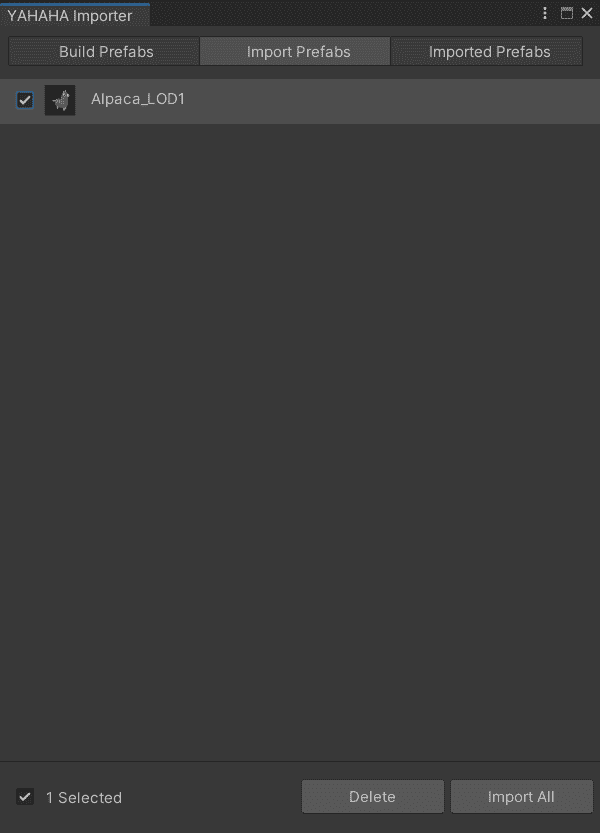
Manage imported prefabs
View imported prefabs on the Imported Prefabs tab. To delete an imported prefab, select or hover over it before clicking Delete.
Apply imported prefabs in Studio
To apply an imported Unity prefab to your scene:
In Studio find the prefabs you imported from Unity by choosing My Resource>Imported from Unity.

Download the prefab by clicking it, and then click it again to add it to the scene, just like how you do with uploaded fbx files.
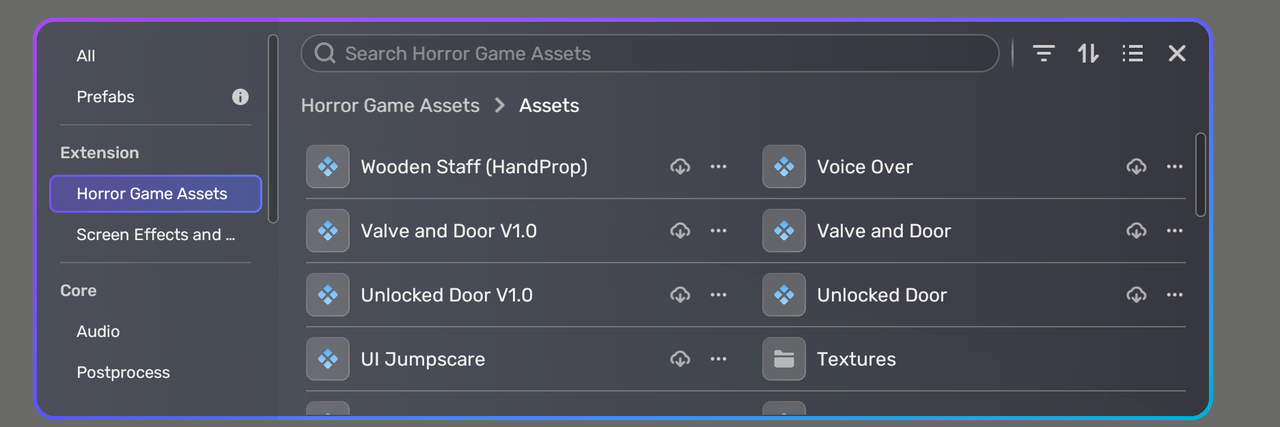
Loading Yahaha Horror Plugin in Unity
Other than importing assets from Unity, you can also load Yahaha Horror Plugin in Unity. This session guides you through using the Horror Game Kit with the Yahaha Plugin, highlighting key workflows by comparing its Unity implementation with equivalent Yahaha Studio features. The goal is to help developers familiar with Studio’s interface transition smoothly to working within Unity.
System Requirements
-
OS: Windows x64 / macOS (Intel/ARM)
-
Unity: 2020.3.42f1 (required; newer versions blocked)
- Download: Unity 2020.3.42 Release
-
Plugin: v1.7.27-preview.1 (private distribution)
Opening the Project Locate the Plugin project at: Unity project\yahahaunityplugintemplateproject within the provided compressed package.
![]()
The kit uses two scene types: Main Scene and Sub-scene, which mirror Yahaha Studio’s structure.
Main Scene
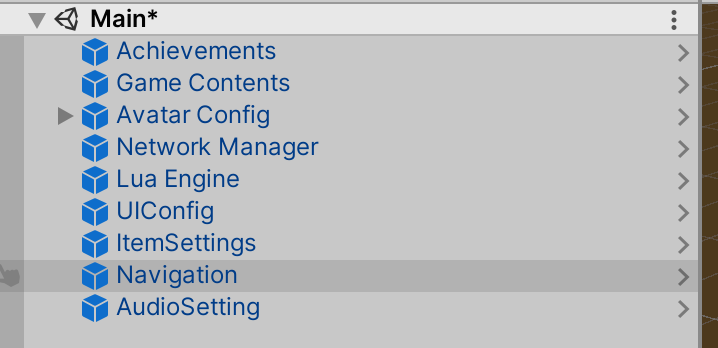
The Main Scene acts as the persistent entry point, similar to Unity’s default scene. It stores global configuration prefabs critical to the game’s operation. Each prefab includes a YaLuaContainer component, which holds Lua scripts for global settings like input controls or UI rules. These configurations align with Studio’s Game Settings but offer deeper customization in Unity.
To create a Main Scene:
-
Create an empty scene in
Assets/YahahaResources/Scenes. -
Remove default objects (Light, Camera).
-
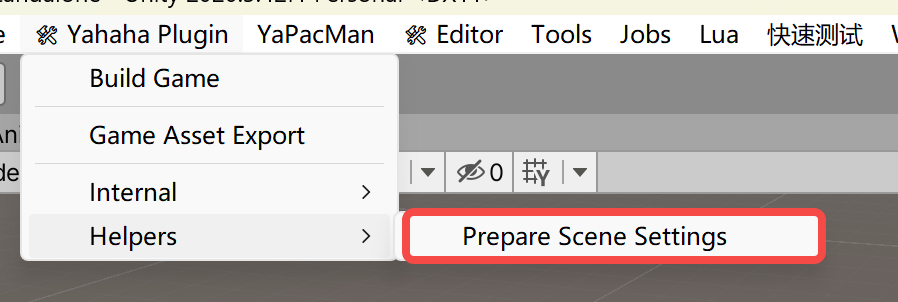
Use the Prepare Scene Settings menu (Tools > Yahaha) to auto-configure necessary prefabs.
Sub-scene Sub-scenes contain gameplay content and are dynamically loaded/unloaded during play. Only one sub-scene can be active at a time. For example, a puzzle room might load as a Sub-scene when the player enters and unload when they exit.
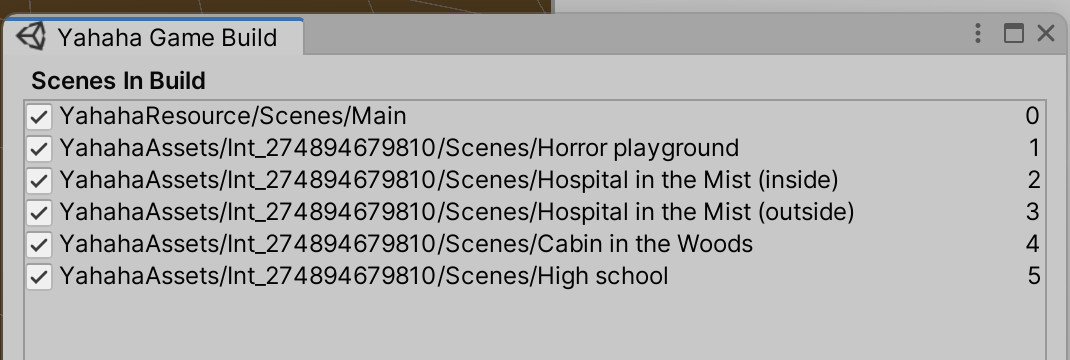
Scene Packaging Workflow
-
In Unity’s Build Settings, set the Main Scene as the first entry.
-
Add Sub-scenes in the order they appear in your game’s progression (e.g., Level 1, Level 2).
-
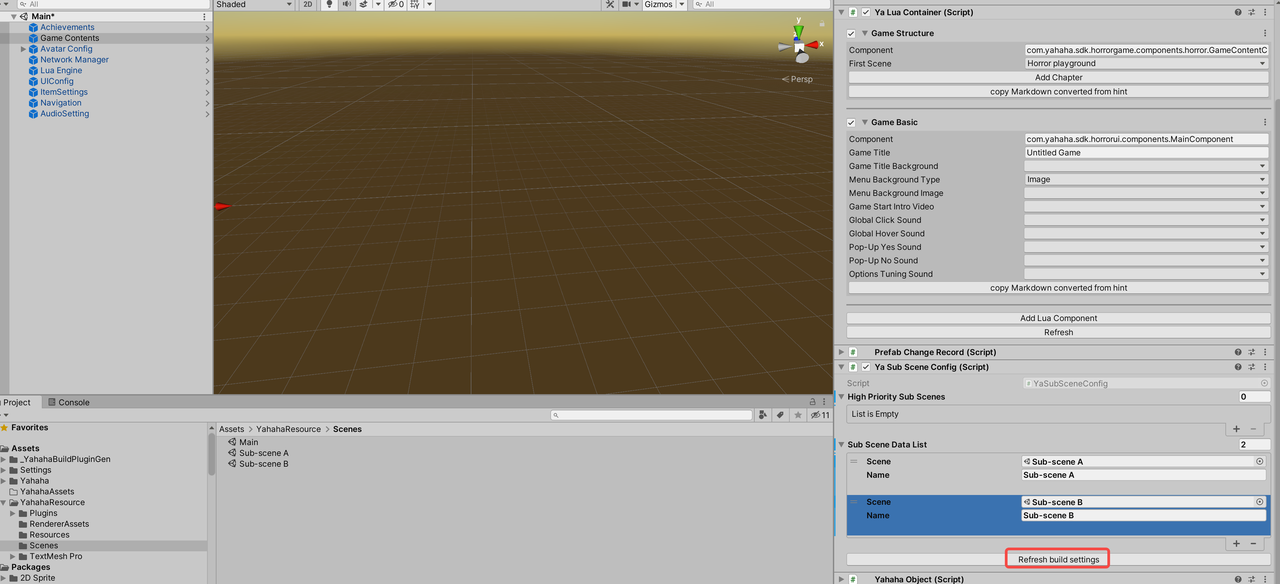
In the Main Scene, locate the
YaSubSceneConfigcomponent (attached to the Game Contents object) and click Refresh Build Settings to synchronize the scene list.
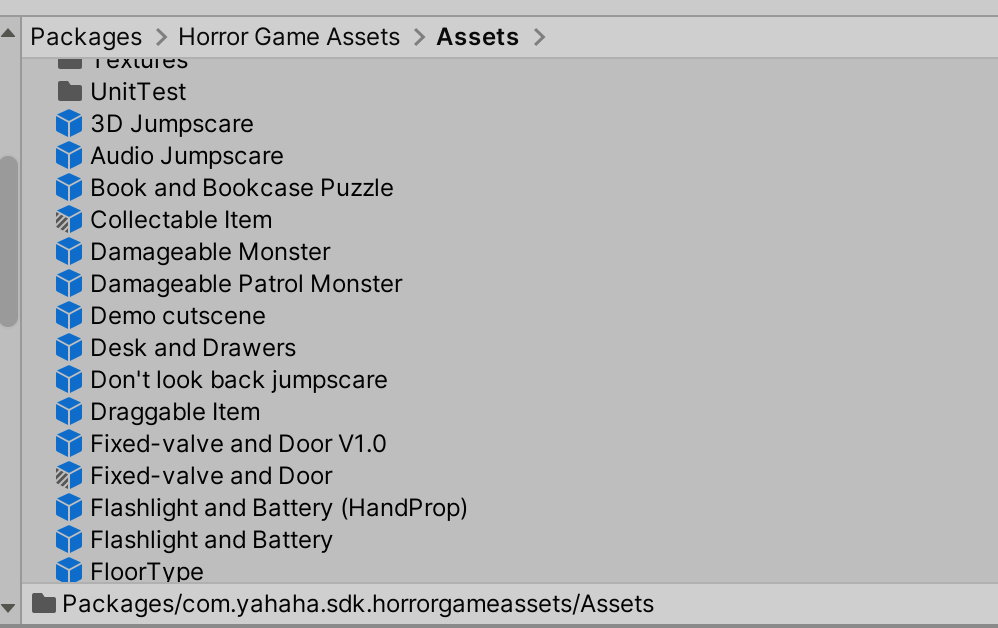
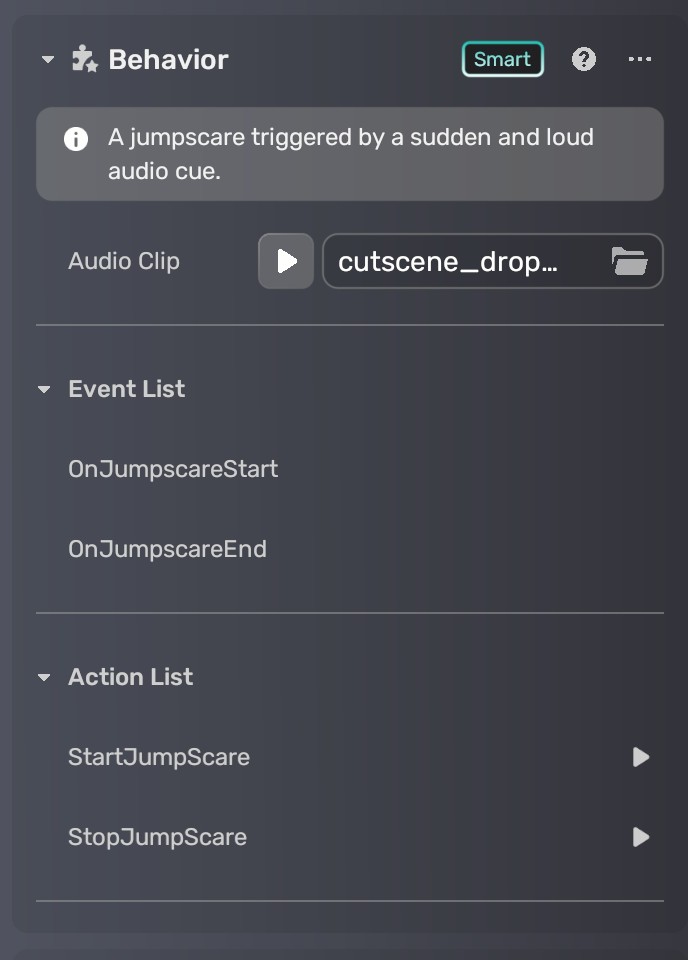
Working with Preconfigured Prefabs
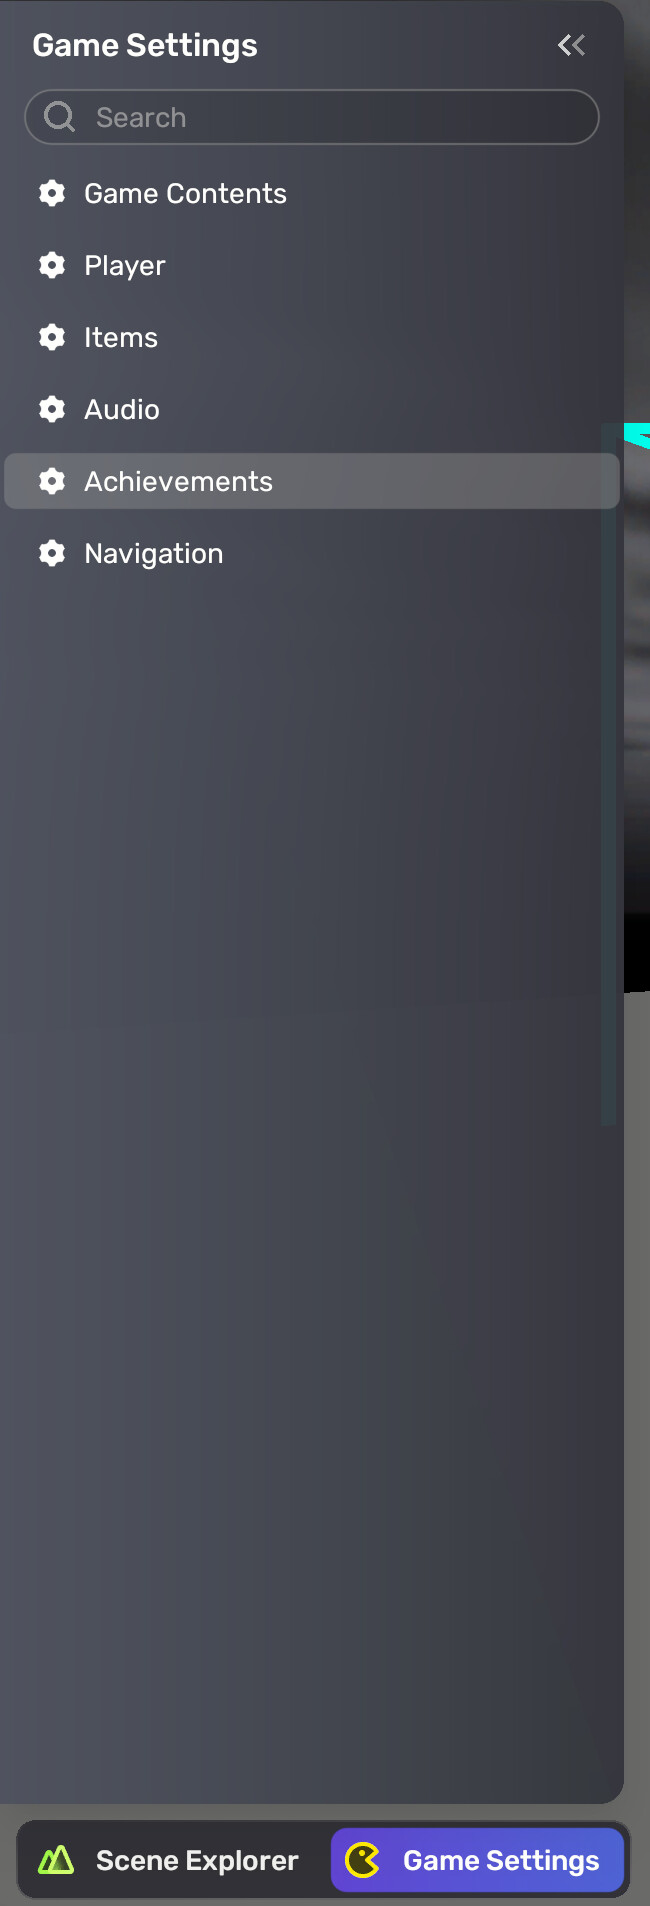
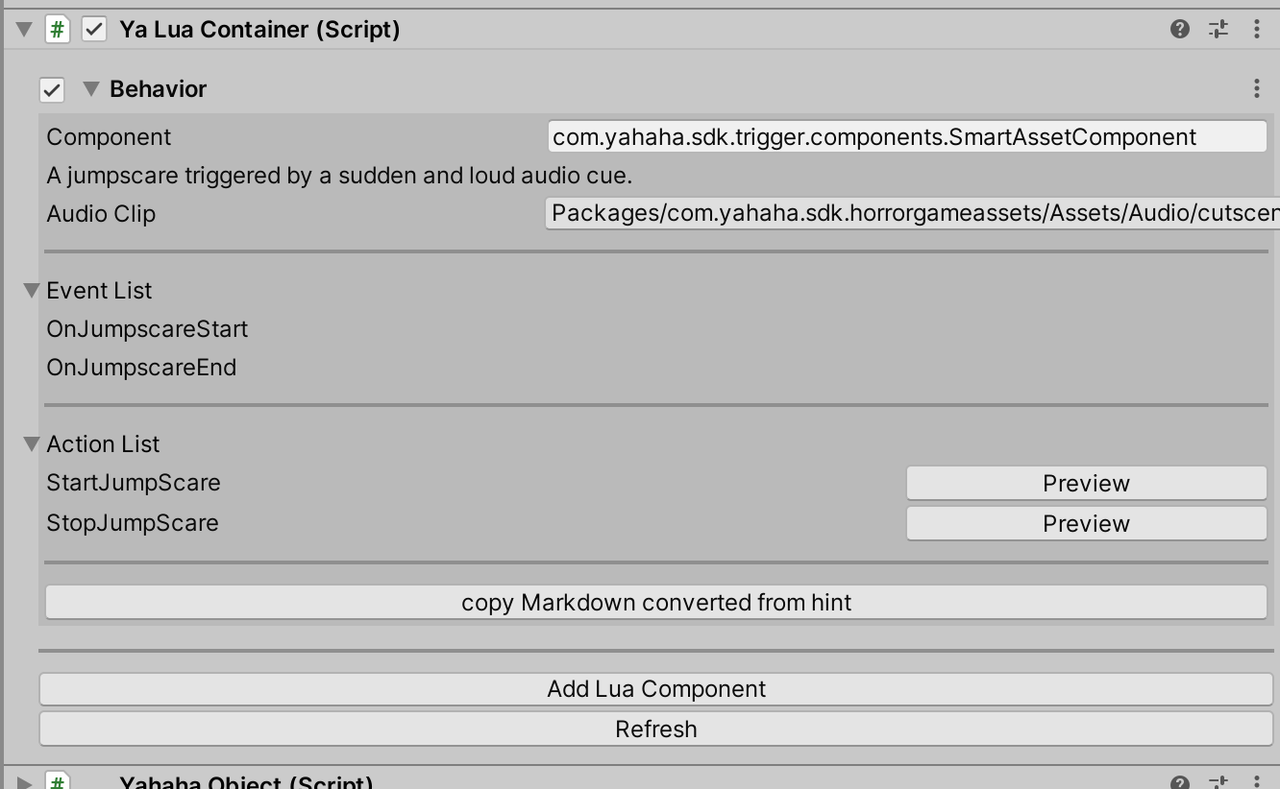
The Plugin provides prefabs equivalent to Studio’s logic components, such as interactive triggers or enemy AI. For instance, a Behavior component in Studio translates to a prefab with a YaLuaContainer in Unity. Compare the two environments side-by-side to identify matching workflows.
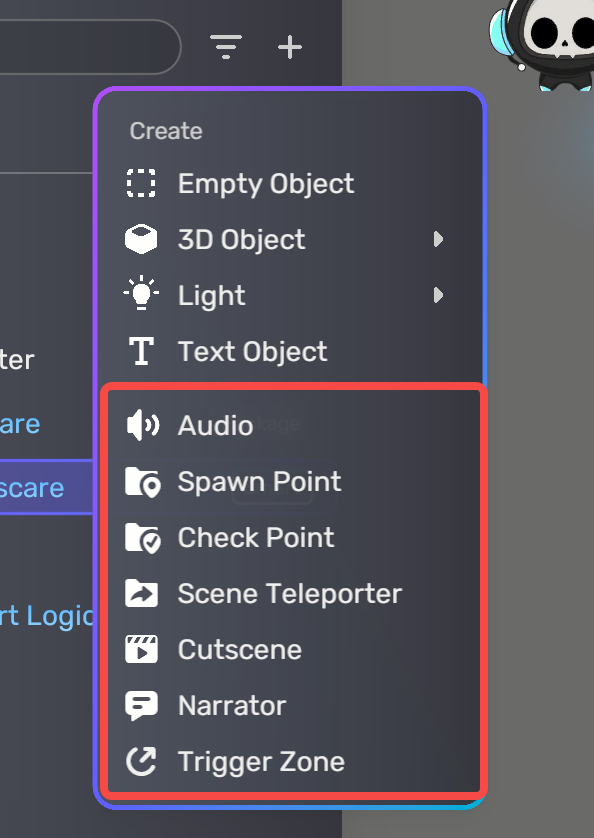
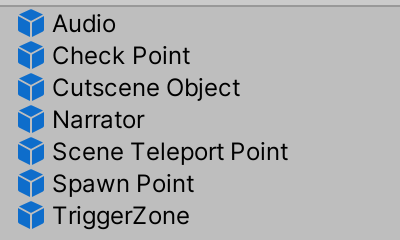
Adding Objects via Shortcut Menu
Studio’s shortcut menu options (e.g., adding spawn points or teleporters) are replicated in Unity through prefabs located in Assets/YahahaResources/Prefabs. Drag these into scenes to quickly set up common gameplay elements.
Attaching Lua Components
To add logic to objects:
-
Attach a
YaLuaContainercomponent to the target object. -
Use the Add Lua Component dropdown to select prebuilt scripts (e.g., AudioPlayer).

- Configure properties in the Inspector. Use the Refresh button if changes don’t appear immediately.
Example: Configuring an Audio Player
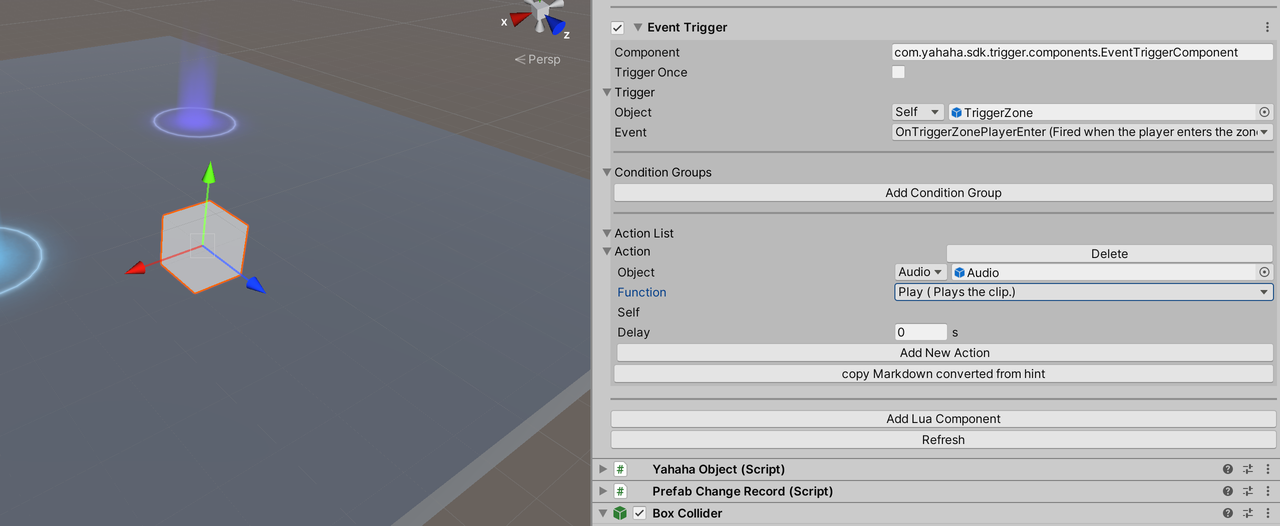
- Place an Audio prefab in your scene and disable its Event Trigger.
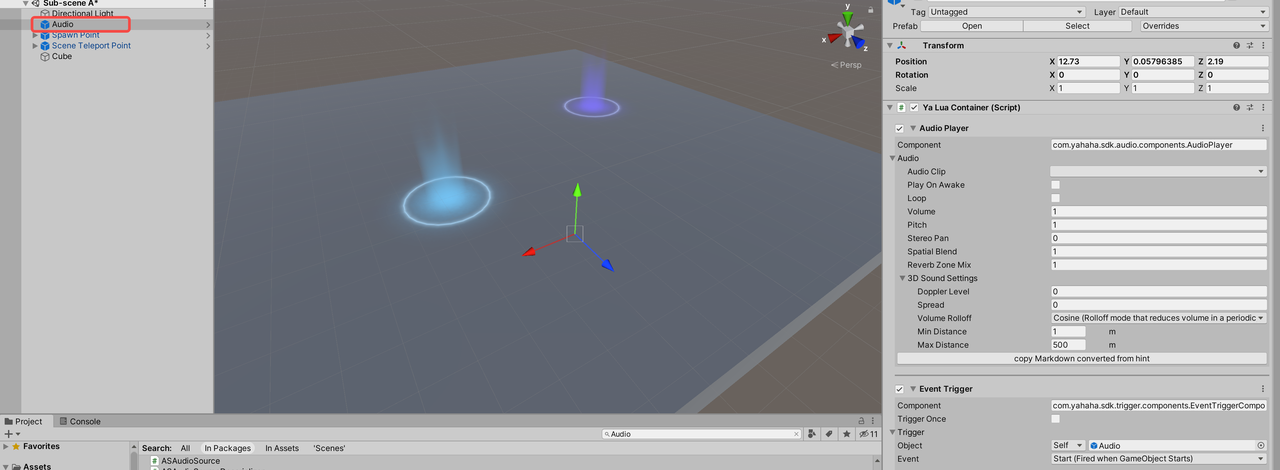
- Import an audio file into Unity (e.g.,
.mp3or.wav).
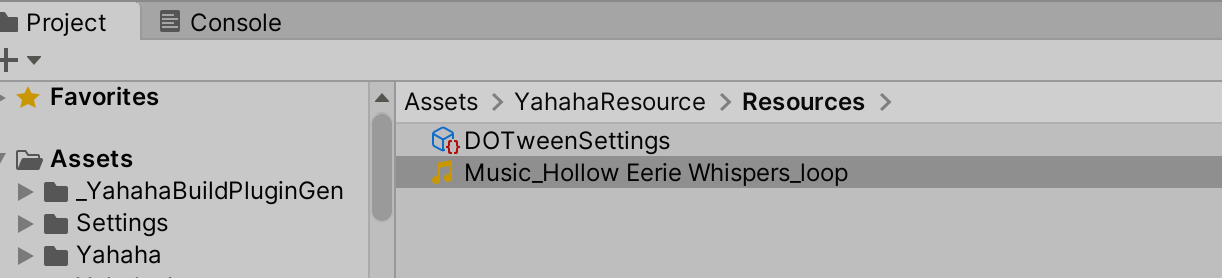
- Add the audio to Resource Items (Project panel > YahahaResources > ResourceItems).
- In the
AudioPlayercomponent, select the audio from the dropdown.
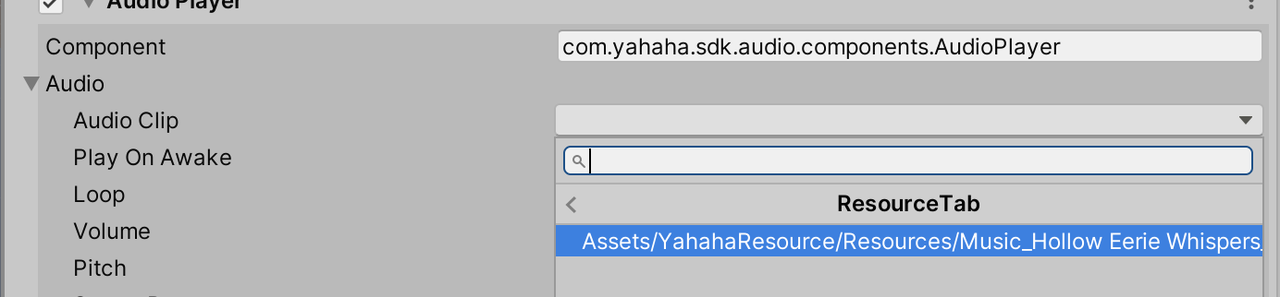
- Use a Trigger Zone prefab to activate playback when the player enters.
Multi-Scene Setup Tutorial
Step 1: Create the Main Scene
- Follow the steps under Main Scene above.
Step 2: Build Sub-scenes
-
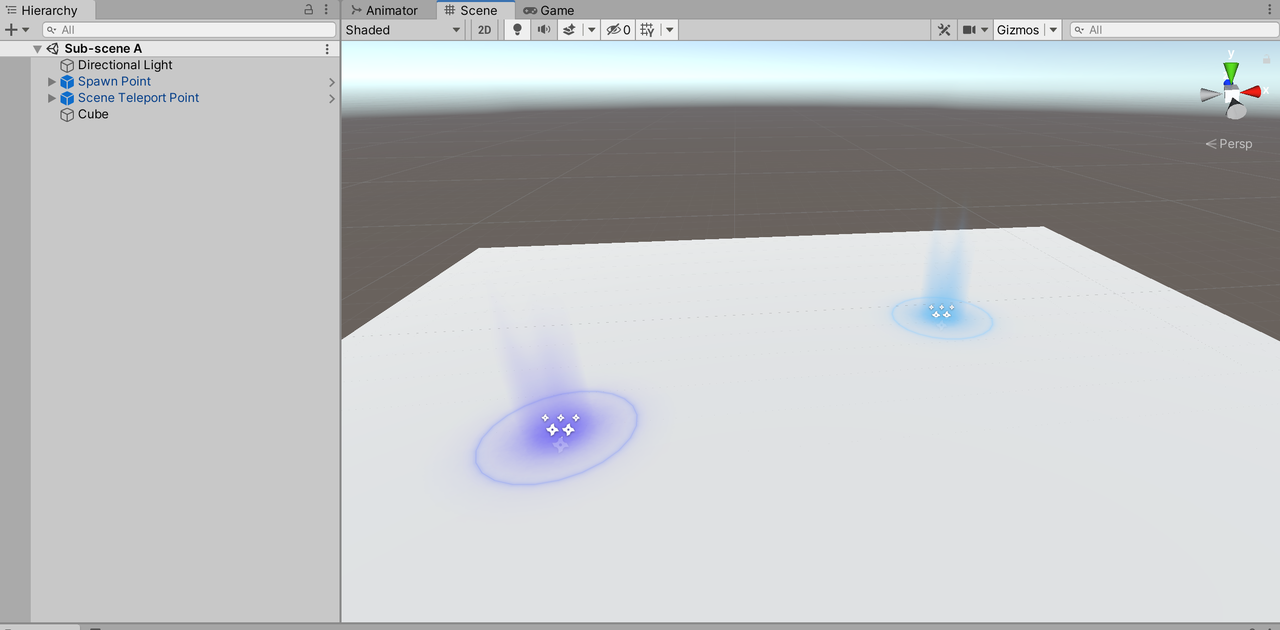
Sub-scene A:
-
Create a scene with a simple platform (e.g., a Cube).
-
Add Spawn Point and Scene Teleport Point prefabs (default settings).
-
-
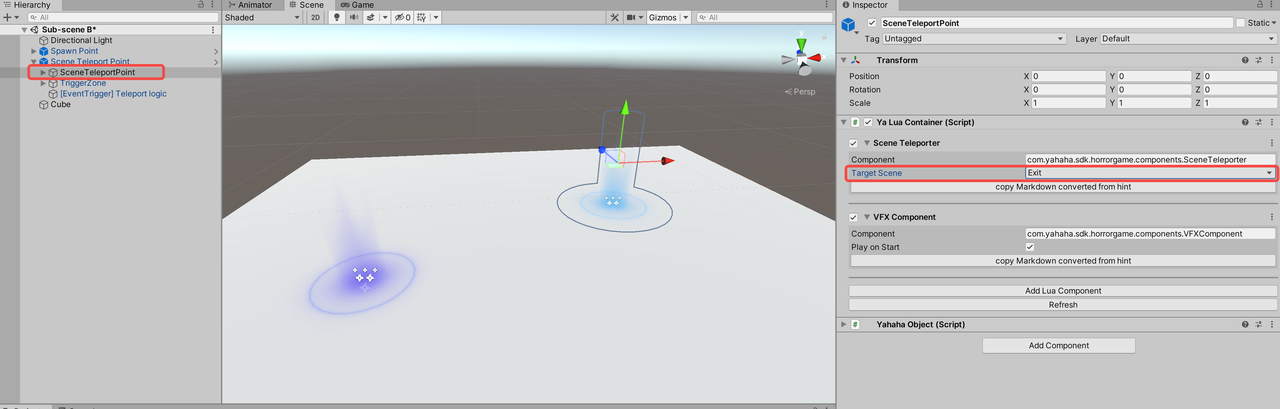
Sub-scene B:
- Duplicate Sub-scene A and modify the Teleport Point’s target scene.
Step 3: Configure Build Order
- In Build Settings, arrange scenes as: Main → Sub-scene A → Sub-scene B.
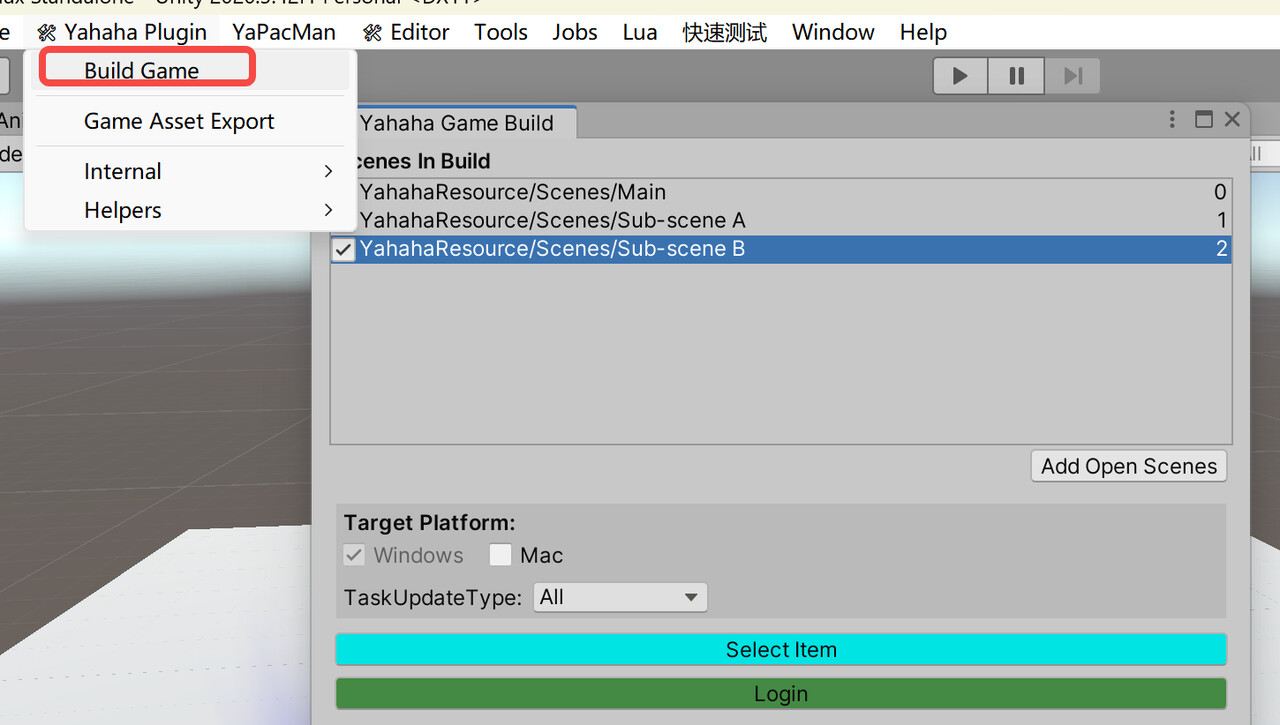
- In the Main Scene’s
YaSubSceneConfig, click Refresh Build Settings to update the list.
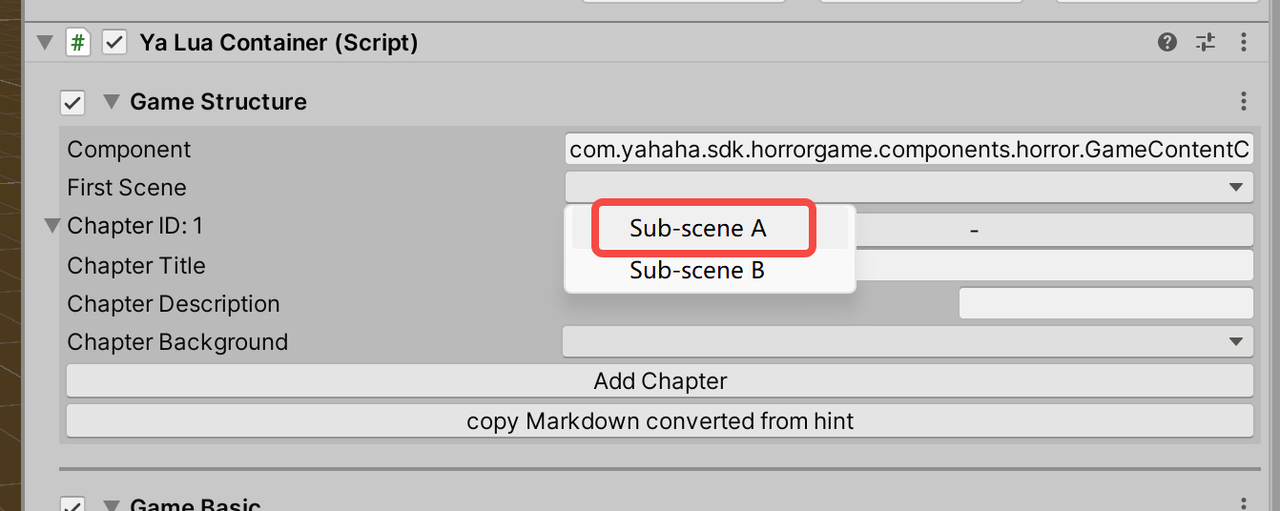
- Assign the initial Sub-scene (e.g., Sub-scene A) via the First Scene dropdown.
Testing
Open the Main Scene and press Unity’s Play button to test transitions.