Hello, fellow developers of Yahaha! In this article, I shall introduce an extremely cool camera effect that is an extension of the effects within the built-in Camera Effect component—the stylized pixel camera effect.
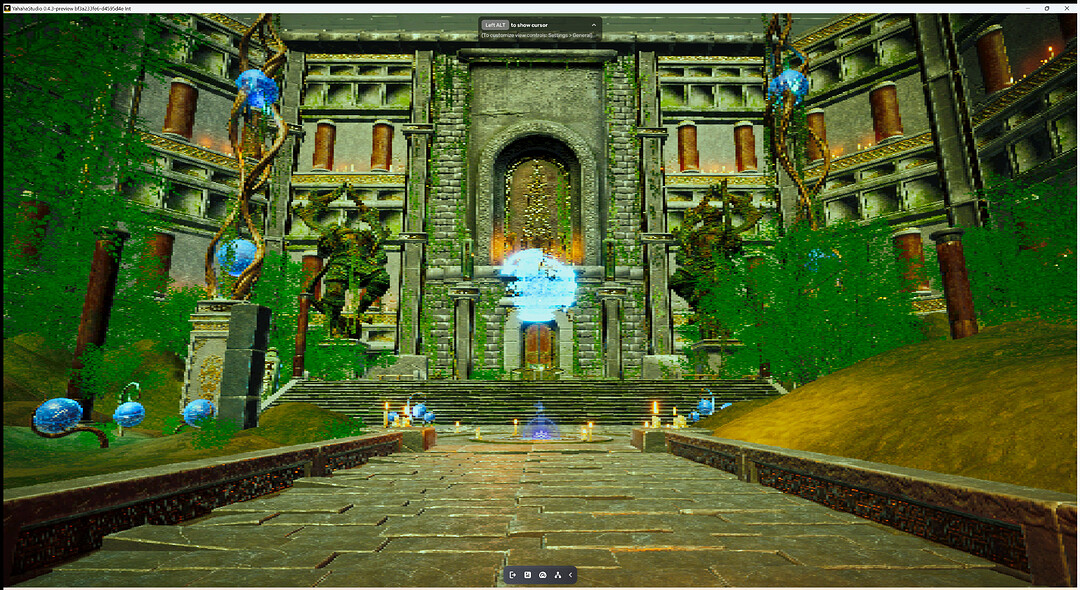
First and foremost, let’s preview its specific effect:
How do you feel about it? Does it feel as if you are immersed in a wonderful virtual world after adding this camera effect? The flavor of this “retro masterpiece” immediately emerges, does it?
At the same time, this effect can also help games with relatively inferior art materials greatly improve the overall art performance and artistic consistency. Though there are many benefits, it should also be used according to needs. So without further ado, let’s dig out how to implement this.
Since this is an extension package, downloading the lua file is needed:
PixelCameraEffect.zip (1.3 KB)
After downloading PixelCameraEffect.lua, there are two ways to import this package into your game.
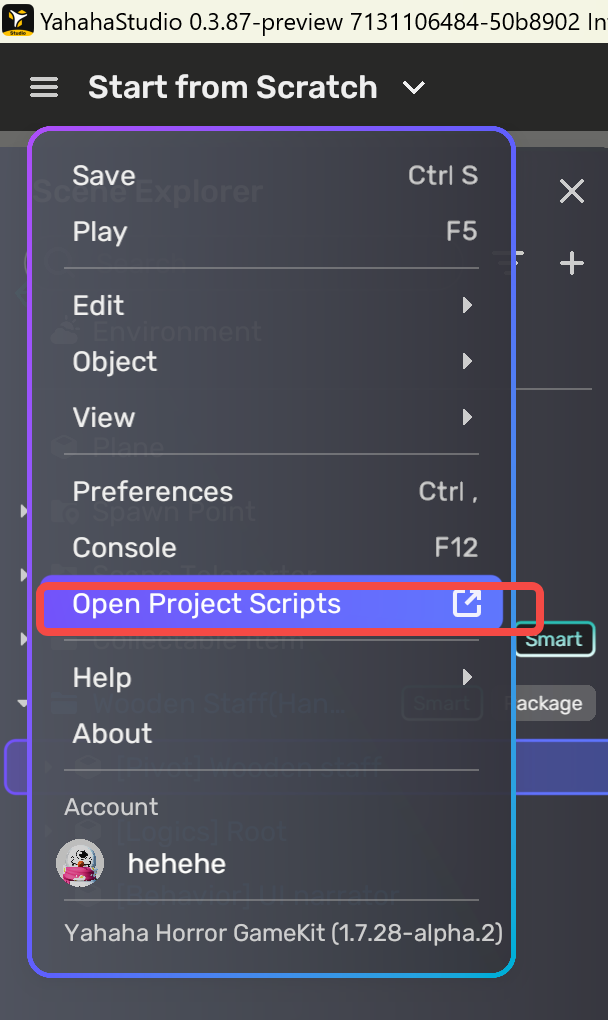
The first one is go to the local components folder of your project by doing the following steps:
- Open the Lua Scripts workspace of your Yahaha project.

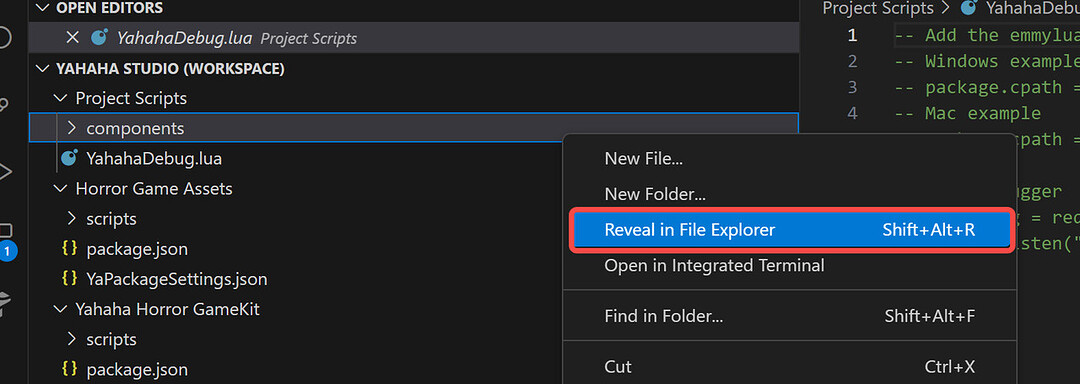
- Reveal the components folder in File Explorer.

-
Copy the contents in the components folder of the conversation extension flies to your components folder.
-
Go back to Visual Studio Code and find the files under the components folder.

Then, go back to Yahaha Studio and create a new empty object named “Pixel Camera Effect” or any name you want:

At the right corner of the inspector panel, click on Add script and you will see the PixelCameraEffect.lua shown on the list.

Open the lua script and find the following parameters at the bottom:
This is where you define and adjust specific customization of the pixel effect.
| Parameters | Detailed Info |
|---|---|
| pixel8Bit.PixelFactor.value | PixelFactor controls the degree of pixelation. The lower the value, the higher the degree of pixelation. The value range is from 0 to 1000. |
| pixel8Bit.ColorFactor.value | ColorFactor controls the color resolution. The lower the value, the fewer the color levels. The value range is from 0 to 256. |
| pixel8Bit.Luminance.value | Luminance controls the contrast. The lower the value, the darker the image will be. The value range is from 0 to 1. |
| pixel8Bit.NoiseTexture.value | Load the noise texture. |
| pixel8Bit.NoiseIntensity.value | NoiseIntensity controls the intensity of noise. The lower the value, the less obvious the noise will be. The value range is from 0 to 3. |
| pixel8Bit.NoiseSpeed.value | NoiseSpeed controls the flashing speed of noise. The lower the value, the slower the noise will flash. The value range is from 0 to 3. |
By changing the values of these parameters, you are able to customize your own pixel camera effect. Try it out!

